How to make a rainforest mask
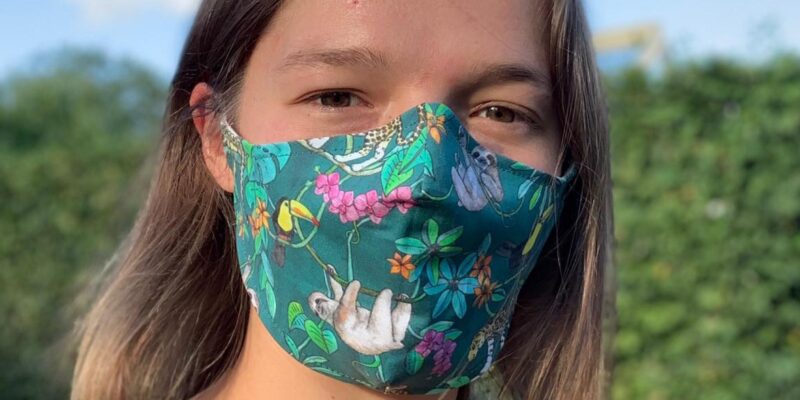
To help families in the Amazon to recover post-COVID, our volunteer Katrin Harding, has been making beautiful jungle themed masks to give away to our supporters.
To receive one of these gorgeous and truly unique masks as a gift from Plant your Future, simply sign up today to become a monthly donor with Plant Your Future and support communities to build back stronger and reforest the Amazon.
Continue reading to find out why Katrin decided to volunteer to make the masks for Plant Your Future and her step-by-step guide to making your own…

“I’m really passionate about combating climate change, improving livelihoods and protecting nature. It’s on-the-ground initiatives like Plant Your Future that really makes a difference.
“With the bad sides of lockdown being pretty overwhelming at times, it was great to be able to use my time doing something I enjoy to support Plant Your Future, particularly at such a challenging time for the farmers and the region.
“I was taught to sew as a child, steadily moving from picking fabric with my sister for our annual fleeces which were then sewn by my mum (along with matching hats) to actually helping with the sewing process.
“Over the last few years I’ve branched out to more adventurous projects, from a roman blind for the flat to an evening dress for my wedding.
“Lockdown and the new requirements for facemasks in shops and public transport has been a great opportunity to use odds and ends of fabric.
“Along with my grandma and mother-in-law, we’ve been through three different patterns to land on the most comfortable mask that’s also the easiest to sew. Here goes!”
What you’ll need:

- Fabric for the mask and lining: You can use the same fabric, but might want to use a slightly lighter weight liner for comfort while having the freedom to go wild with patterns for the outer material. The masks are also reversible so you can always choose if you’re having an exuberant or more subdued day to match your outfit or mood!
- Thread: Definitely a colour to match your main fabric, if you want to make it reversible also thread to match the lining.
- Wire (about 15cm): Craft or floristry wire does the job well. I got this wire (26 gauge) which would probably last me a few thousand more masks..
- Elastic: 3-5mm wide elastic should do the job well. If you’re making it for yourself you could use string or ribbon at the right size, but a bit of flex makes it more comfortable.
- Beads (if you want to make it adjustable): This should have a large enough hole to thread the elastic into but not so big that it easily slides off. About a 3mm hole seems about right! I got these from Etsy – absolutely lovely but the holes were smaller than 4mm and I had to get the drill out as some hadn’t been drilled all the way through and were even smaller!
- Sewing Machine: These instructions make more sense for a sewing machine, but if you want you could definitely use them with hand sewing, it might just take a bit longer.
- Fabric scissors
- Pins
Step-by-Step Guide

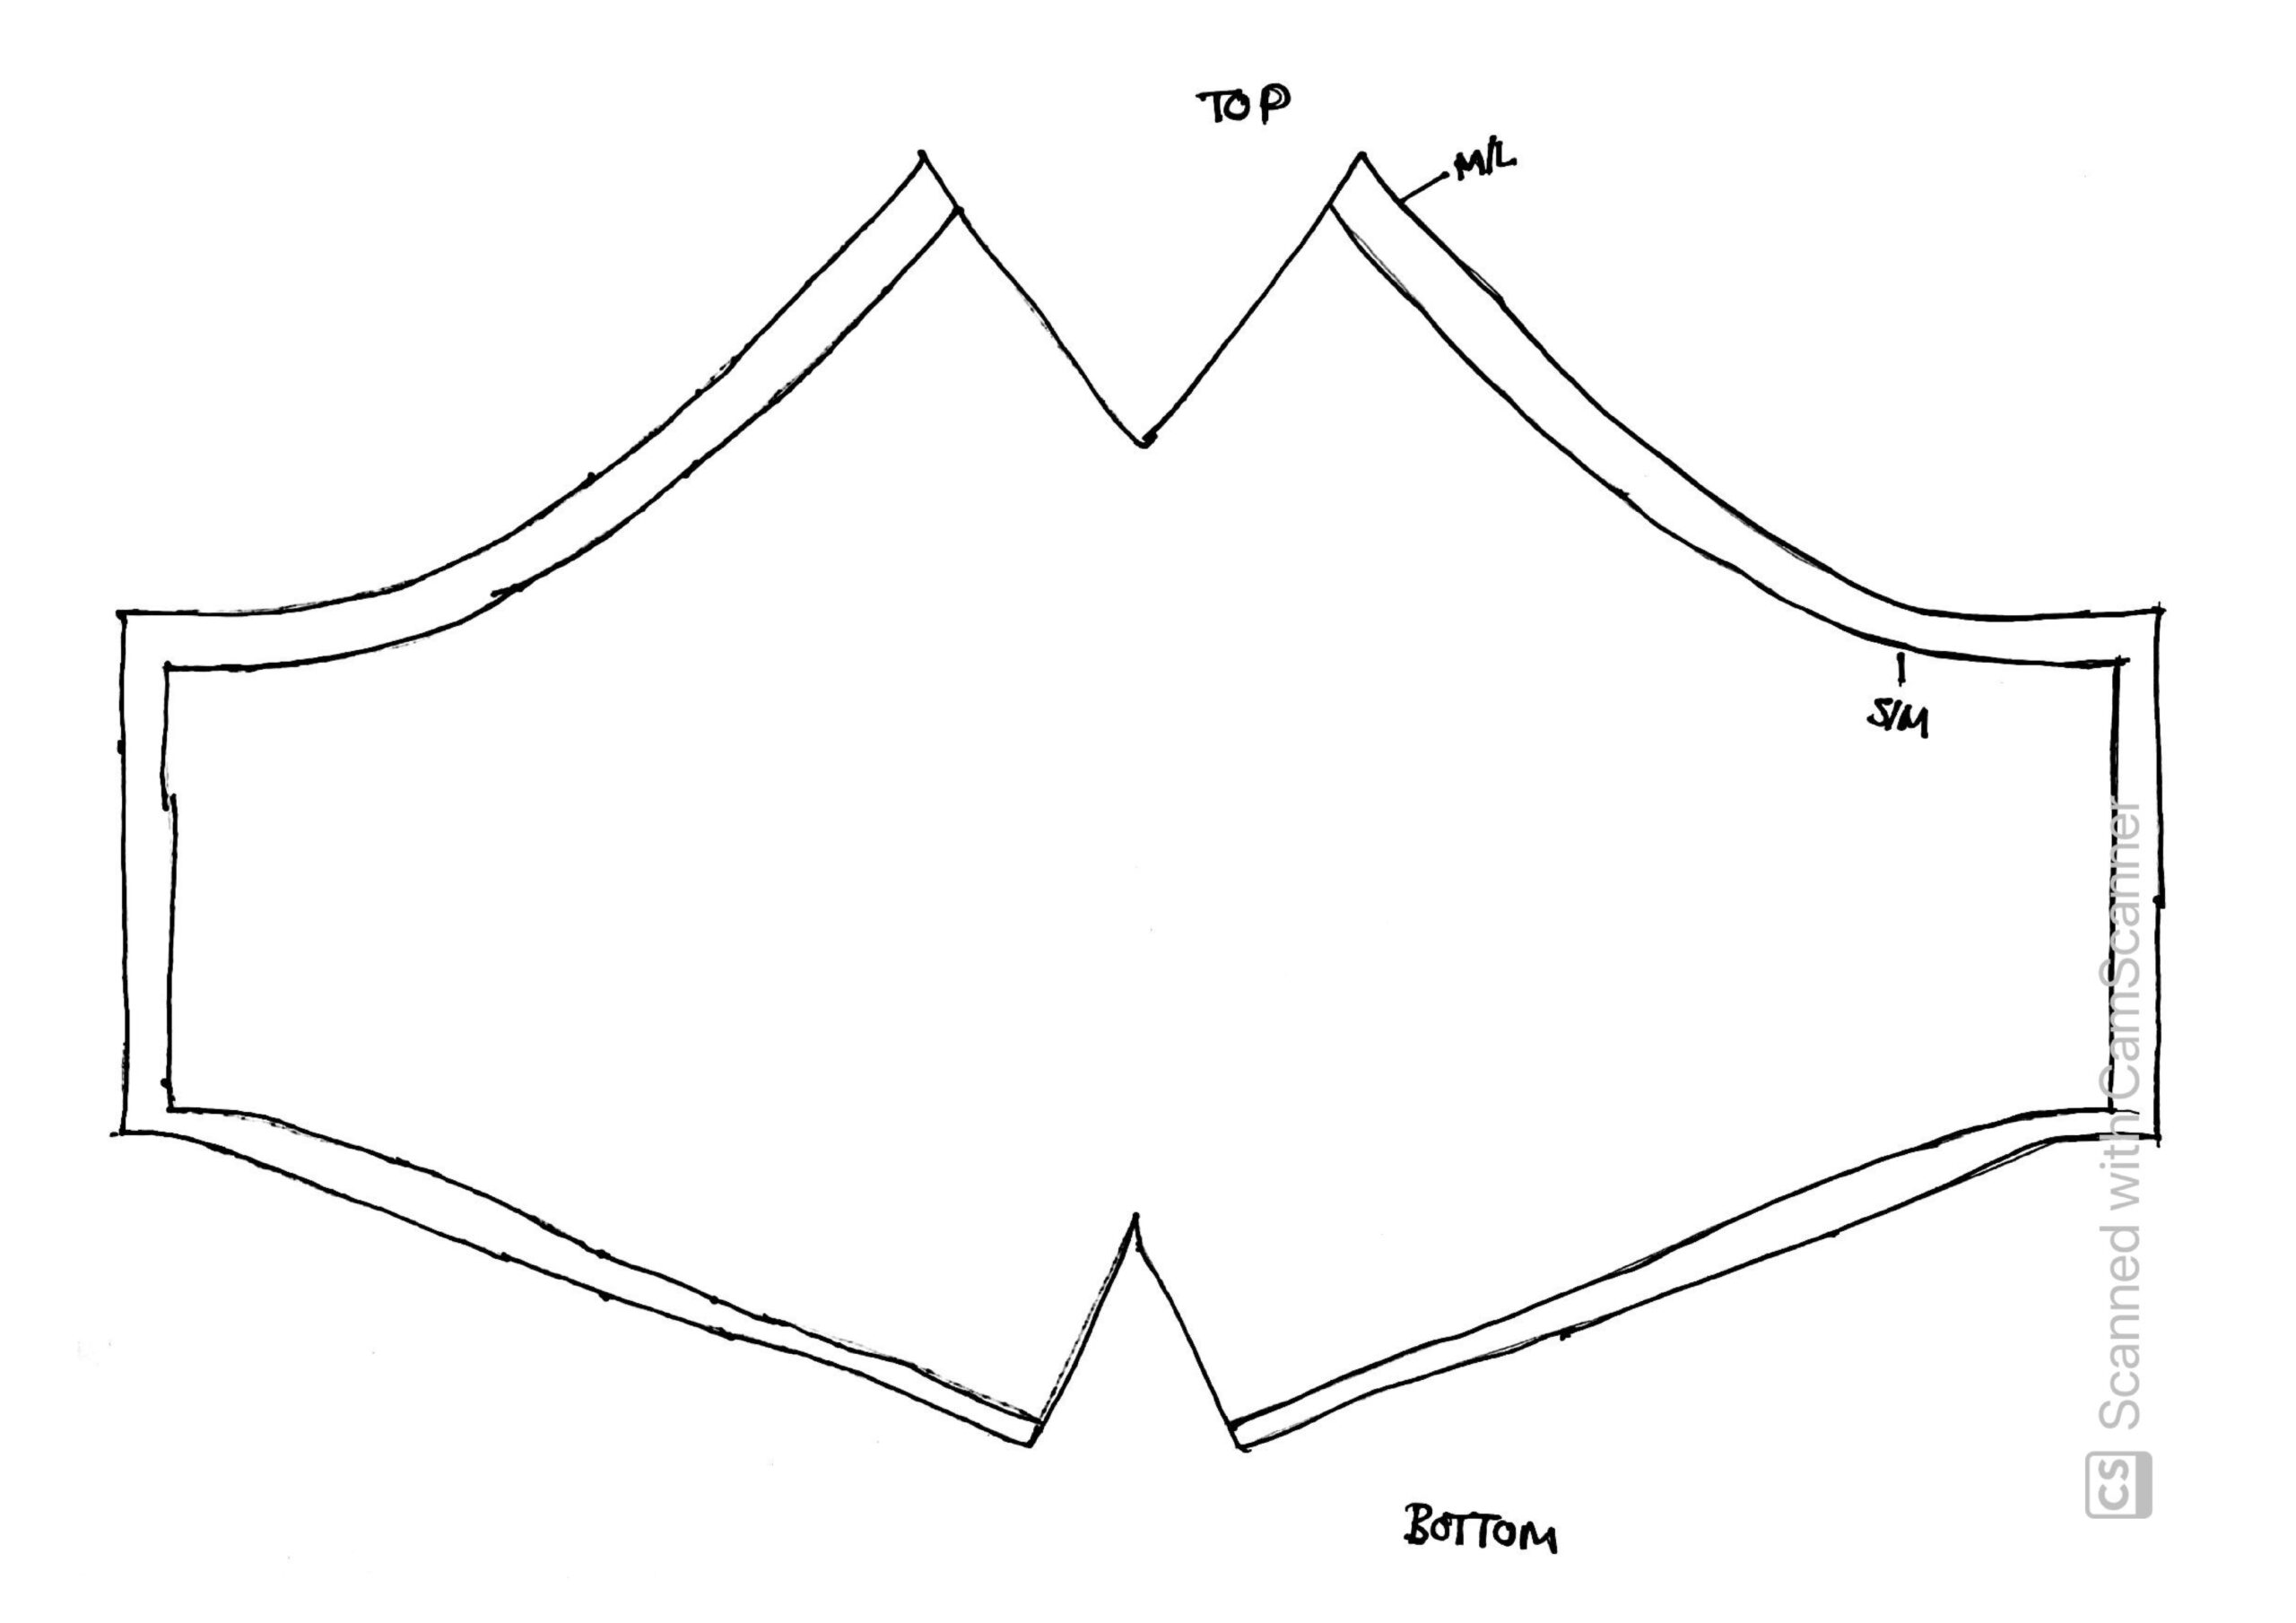
Step 1 – Cut out your fabric pieces
Download the template pattern below. Choose a size (M/L or S/M) and cut out the pattern. Then cut out one each in your main fabric and lining fabric.

Step 2 – Sew the pleats
Fold each pattern piece in half with right sides together (ie. the patterned or whichever side you want to be on the outside of the finished mask).
Sew down the sides of the V at top and bottom of the mask.
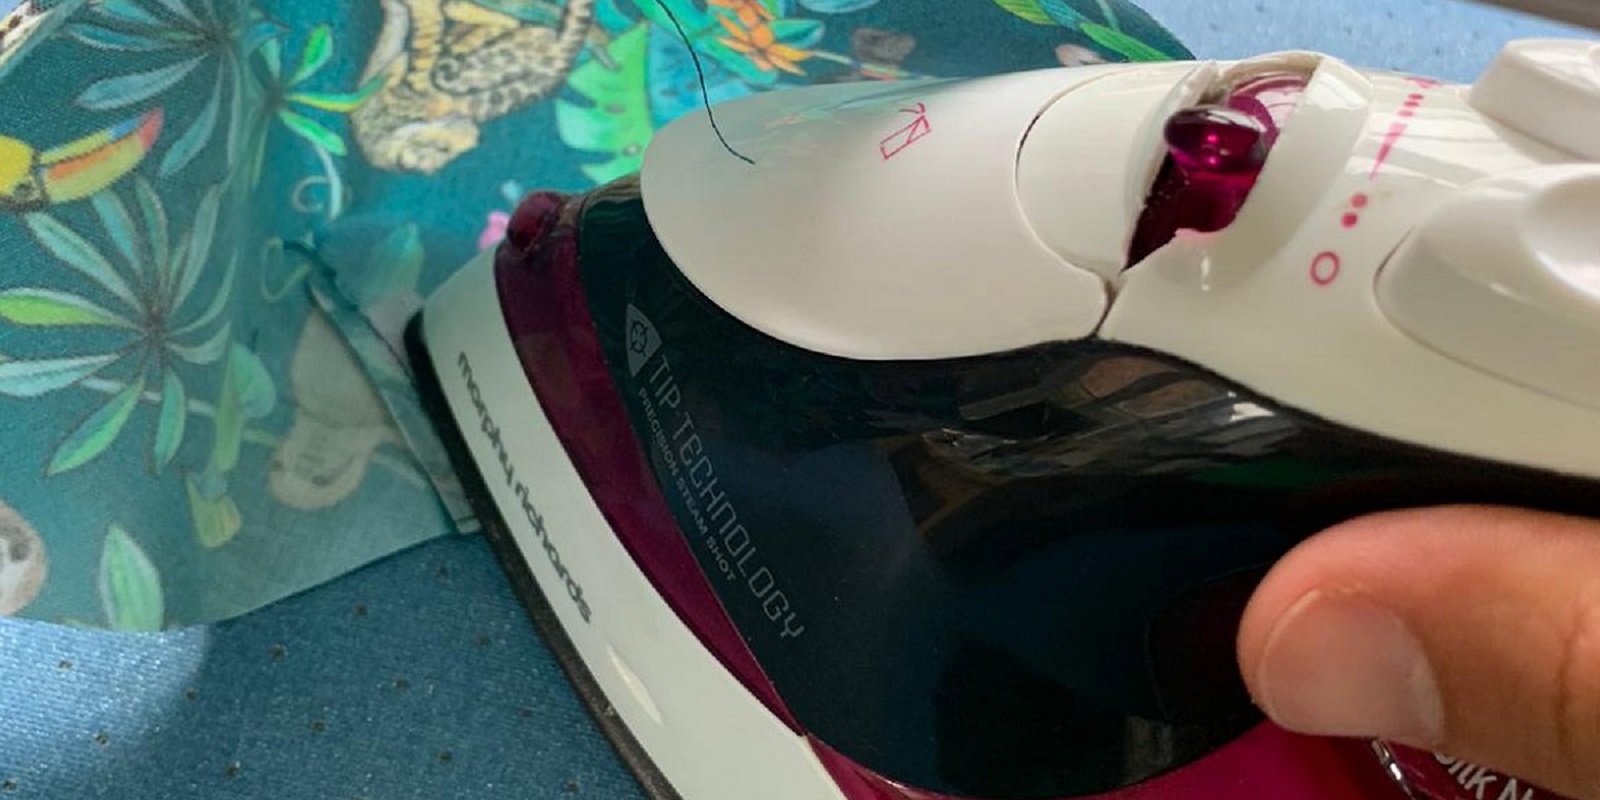
Use an iron to press the folds that you’ve just sewed to one side and make a nice crisp seam
Step 3 – Nest the materials together
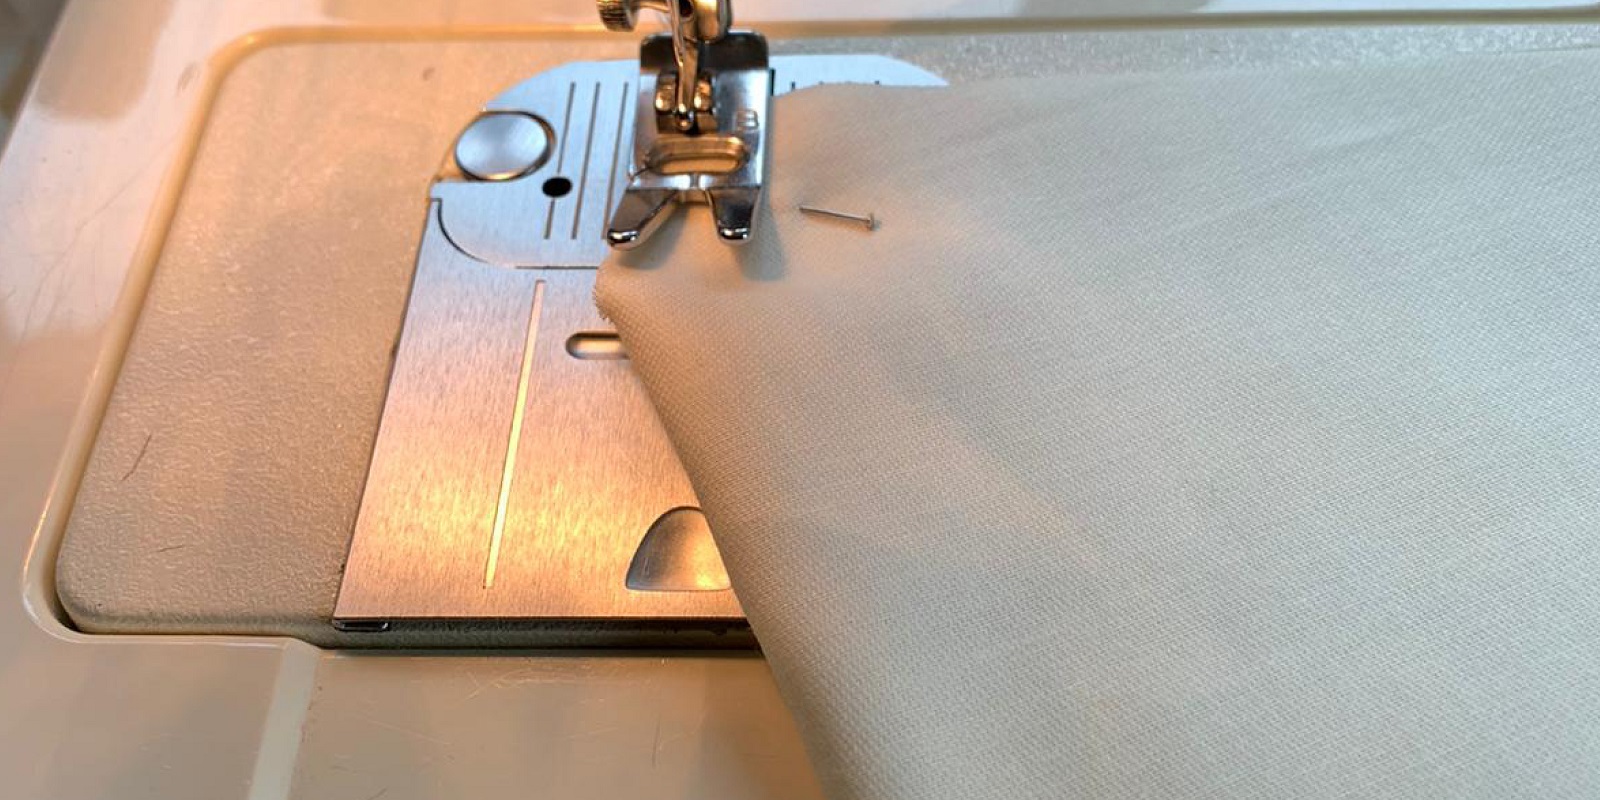
With the right sides together (ie pleat flaps outwards) nest the lining and the outer material together. Pin then sew all the way along the top and bottom, leaving both ends open. Pull the mask through itself to turn it the right way out, tucking about 1cm each end inside so the rough ends are hidden. Press the seams to crisp edges.
Step 4 -Topstich channels in the top and bottom
If you want to make your maks reversible and limit how much the stitching sews, make sure your bobbin thread on your sewing machine matches the lining and your top thread matches your main fabric.
Starting about 2cm from the turned end of the mask, sew about 5mm away from the edge of the fabric all the way along to ~2cm before the other end on both the top and bottom.
Step 5 – Insert the wire
The top edge of your mask is the one with the larger pleat and that comes up more to a point in the middle.
Thread your wire into the channel you’ve just stitched along the top of the mask.
You might want to bend the end of the wire over to push it in. Take care at the seam in the middle.
Step 6 – Add the elastic
Cut a piece of elastic, either the right length (if you’re making the mask for yourself or someone else you can get to try it on!) or quite a bit longer if you want to make the mask adjustable.
Push each end of the elastic well into the folded over end of the mask at the top and bottom and pin in place.
Keeping the same thread as in Step 4 to make sure it matches, make 2 lines of stitches all the way down the ends of the mask to seal the ends and secure the elastic.
Step 7 – Add the beads
If you’re using a bead to make the elastic adjustable, fold the middle of the elastic and push through the bead.
Done!
A huge thank you to Katrin for dedicating her time to making these beautiful masks for our supporters. If you’d like one then please sign up to become a monthly donor and help families in the Amazon to build back stronger post-COVID. They need your support more than ever. Thank you.
bespoke, charity, Coronavirus, COVID19, emergency appeal, facemask, guide, handmade, how to guide, jungle, make your own, mask, peru, planting trees, ppe, rainforest, rainforest fabric, reforestation, sewing, template, tree planting, tropical